
Please note that a version of the following post was originally published on the SOTA Reflector:
My first JA activation – JA/KN-022
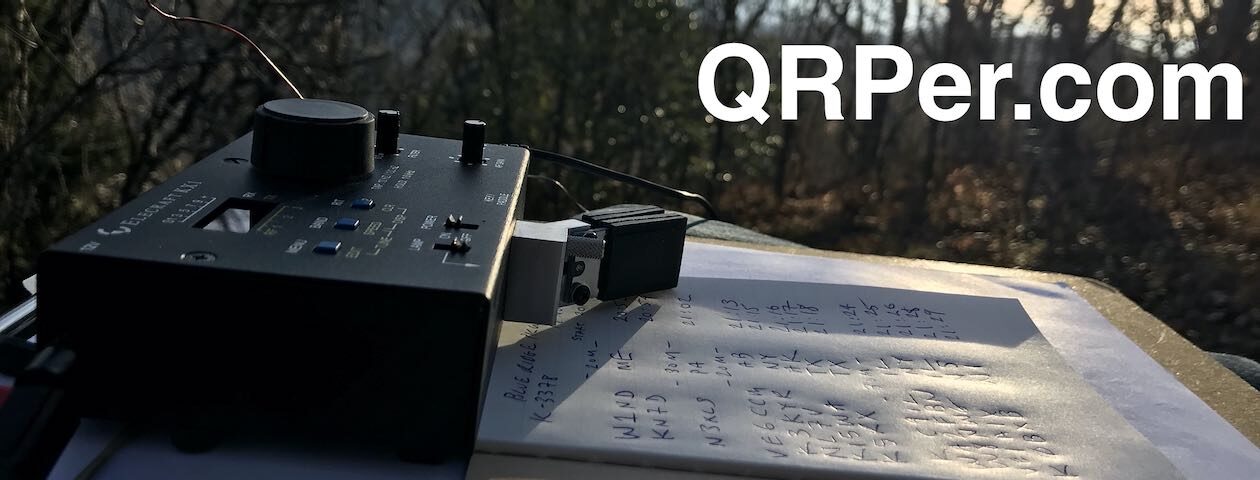
by George (M1GEO)
A word of caution: this is more of a set of notes on what I did and how you may do similar, and less of an operating report, though there are some notes on operating toward the end.
Intro
After being told that work would like me to travel to Japan for a few weeks, I knew I’d like to try and squeeze in bit of ham radio. A quick search online for licence information led me to a post by Stephan (HB9EAJ) on the SOTA reflector about his Visit to Japan – Kanazawa in May. My visit to Japan was scheduled for mid-November 2025 and so the information on Stephan’s post very helpful, alongside his writeup of his first activations on Japan. I also found Ara’s (N6ARA) post on QRPer.com SOTA and POTA in Japan particularly helpful. Thanks also to Paul (VA6MPM) for reaching out to me via email with summit suggestions. Start with those posts for guidance on how to get you Japanese reciprocal licence and operating quirks.
My company had put me up in the Marriott Westin hotel in Yokohama, a thoroughly nice place, and about a 10 minute walk from the Yokohama central station. A quick survey of SOTA maps, blogs and YouTube videos along with input from Rob, M0VFC (who got me involved in SOTA to begin with) lead me to choosing summit JA/KN-022 for my first JA activation; mainly as it would also come with POTA JP-1313 and was accessible by public transport.
A rough plan

A look at SOTL.as Maps showed that JA/KN-022 was a reasonable distance from the hotel.
I had a few options:
- Hire a car and drive the 61km – this proved to not be possible as I didn’t have my IDP with me.
- Take a taxi, costing around ¥20,000 (approx. £98, €111, $130) each way – too expensive!
- Take a train & bus, costing around ¥1200 (approx. £6, €7, $8) each way
I opted for the train & bus, with NAVITIME (the recommended travel app) showing around 1h 30m.
Around work commitments, I only had one day to activate before things got busy. This ended up being Sunday 23rd November 2025. The night before, I set up my spots so that the RBN would spot me if I had no cell coverage (fortunately KN-022 had good 5G), and I noticed that Katz (JG1JJL) also had a spot for the summit on that day. I adjusted my start time to ensure that Katz had plenty of time to operate before I arrived, so as not to disturb him.

Getting to the summit
Getting from Yokohama central station to the summit was overall pretty easy. I found myself using a combination of Google Maps (more English UI) and “Japan Travel” by NAVITIME (better knowledge & detail). Both apps suggested a JapanRail (JR) “Yokohama Line” train from Yokohama central station (station JK11) to Hashimoto (station JH28), and then a local bus Kanagawa Chuo Kotsu route 01.
Starting out
At Yokohama train station, I hit a bit of a dependency problem, which took me 90 minutes of back and forth to resolve…
I arrived at the station around 10 am JST, knowing I needed to buy a train ticket, and that the best way was to get an IC card (Suica, Pasmo, etc), which are very common in Japan for much more than transport.

The ticket machines, pictured above, would only take cash (notes or coins), which, having just landed in Japan, I didn’t have. I scanned around to find signs for 3 different ATMs and headed over to the closest one, only to have it fail to read my card (magnetic strip error). This repeated for all (five!) of my cards at all 2 of the ATM machines. I assumed that this was an issue with the card vendors not playing nicely (turns out they only accept Japanese issued cards).
I headed to the JR Ticket Office, took a number and waited in the queue (for 15 minutes) until my number was called. I explained to the clerk that I wanted to buy a ticket to Hashimoto and also purchase a Suica (IC) card. I told him I needed to pay by card, but it wasn’t until I offered him my western card that he told me that they cannot take it – damn! The JR clerk told me that I needed to find an “international ATM” and that maybe 7-Eleven would have one.
I ended up walking to a 7-Eleven to use their in-store “international ATM” which charged me a ¥600 (approx. £3, €4, $5) fee to withdraw cash. Later information from Japan National Tourism Organization told me I could have withdrawn cash at ATMs in Japan Post Bank and in Seven Bank, as they don’t charge a fee. There is a JP Bank outside Yokohama station, too. Ah well!
Assuming you either have some Japanese Yen or an IC card already, none of the above will be relevant to you!
Once you’ve got the essentials
You can touch your IC card on the train ticket barriers to get in, it’s very similar to London’s Oyster Cards, etc.
At Yokohama station, I took the steps up to Platforms 3 & 4, and observed the map to understand what was going on. Google Maps and NAVITIME made it sound complex, changing from one line to another, but this is more of a theoretical thing than actual. I waited for a Yokohama Line train (green) that said it was heading past where I wanted to go, and got on. The train I boarded was headed for Hachiōji at the end of the line. Around 40 minutes later I was at Hashimoto station (station JH28). The train announced everything in clear, informative English.

At Hashimoto, take the station’s north exit, head out, slightly left and down the stairs (blue star on map below). The needed bus stand is on the right side of the roundabout, at the back (red star on map below). I took Kanagawa Chuo Kotsu Bus 01. I used Google Maps to confirm this was the right stop, and once I was moving, it followed the route and told me when to get off. NAVITIME also does this, but it is a premium feature that I didn’t have. I recognised the large-ish “01” on the front of the bus and gambled it was correct. The bus waited at the stand until it was time to depart, and so I had a bit of time to confirm it was going to the correct place by asking a local – it was! The bus did not have English announcements, but it was easy enough to follow along on Google Maps.

The bus journey took around 20 minutes and I got off at Lake Tsukui Tourist Center bus stop. The bus stops directly (really, like within 2 metres) by the trailhead.

The Ascent
For the first part of the ascent, I followed a few other Japanese tourists off the bus. I was there on the Labour Day weekend, so there were a few families getting off the bus for a walk. I chatted to the lady who’d confirmed the bus direction; she was asking what instrument I played and gesturing to my antenna (MA-12 from AliExpress, the same as a Chelegance MC-750 at ½ the price for the same thing!). She and her family were off to find flying squirrels (I had no idea Japan had them). We parted ways as I diverted upwards into the trees toward the summit.

I closely followed Kawa’s (JH0CJH) trail, which starts at about 140m ASL and winds up to the summit at 375m. The path is well signposted, and I used Google Lens & Google Translate to help with the (many) signposts & caution signs. Mostly, these were about falling trees, hornets, and other similar outdoorsy things. My favourite sign was one that said “DO NOT STOP HERE – Frequent Rockfalls!” which I stopped at for 20 seconds to translate. I was amused by this and escaped unhurt! Continue reading Field Report and Notes From M1GEO’s First SOTA Activation in Japan


